


Your heels feel like sandpaper. Maybe they look cracked too. It is annoying. It is also incredibly common. The culprit is usually a buildup of dead skin cells. Medically, we call it hyperkeratosis. In plain English, it is just thick, hard skin. Your feet carry your weight all day. They dry out. The skin responds by thickening to protect itself. But that protection becomes a problem when it gets too rough.
You do not need to spend a fortune on pedicures to fix this. You can start right now in your bathroom. Here are seven simple ways to get those heels back to smooth.
Soak and Soften
You cannot exfoliate dry skin. It will just tear. Start with a soak. Fill a basin with warm water. Add a handful of Epsom salts or plain baking soda. Soak your feet for 15 to 20 minutes. This hydrates the tough outer layer. It makes the dead skin pliable. You are essentially preparing the ground for removal.
The Pumice Stone Method
This is the classic solution. Why? Because it works. Grab a pumice stone. Use it on your damp feet. Gently rub the stone over your heels in a circular motion. Do not press hard. Let the stone do the work. You want to remove layers. Not slices of skin. Rinse the stone often. Stop when the skin feels smoother. It takes patience.
The Sugar Scrub Hack
Think of sugar as a natural chemical peel. It is granular. It sloughs off dead cells. Mix two tablespoons of brown sugar with one tablespoon of olive oil. The oil keeps your skin from drying out as you scrub. Apply the mixture to your wet heels. Rub it in circles for a minute. Rinse with warm water. Your skin should feel noticeably softer immediately.
The Baking Soda Paste
Baking soda is a gentle exfoliant. It also helps balance the pH of your skin. Mix two tablespoons of baking soda with enough water to make a paste. Apply it to your heels. Let it sit for a few minutes. Then rub it in. The abrasive texture helps lift the thickened skin. It is cheap. It is likely already in your kitchen cupboard.
The Banana Mask
This sounds weird. It works. Bananas are rich in potassium and natural oils. Mash a ripe banana. Apply the pulp to your heels. Wrap your feet in warm towels to let the heat work it in. Leave it on for 15 minutes. Wash it off. The moisture penetrates deep into the calluses. It softens them from the inside out.
The Banana Peel Trick
Keep the peel. Rub the inside of the banana peel on your heels. The enzymes and oils break down dead skin. Do this every night before bed. It is low effort. You are already eating the fruit. Why throw away the benefit? It might take a few weeks. But it is consistent maintenance.
Lock in Moisture
Exfoliation is only half the battle. If you do not moisturize, the skin will just thicken again. Apply a thick moisturizer or foot cream immediately after drying your feet. Look for ingredients like urea, lactic acid, or shea butter. These
Soak to soften
Soak. It’s not glamorous, but it’s non-negotiable if you want smooth heels without creating a wound. An emollient foot bath does exactly what it says: it softens the tough outer layer of skin. This makes the next step—removing that excess callous—actually possible instead of painful.
You can buy a fancy soak. Or you can mix your own. The DIY route is cheaper and often more effective because you control the ingredients.
Here is the formula that actually works:
- Warm water. Not hot. Just enough to make you want to stay in it.
- Apple cider vinegar. A few tablespoons. The acidity breaks down the hard keratin.
- Vegetable glycerin. Two heaping tablespoons. This pulls moisture into the epidermis.
Mix it in a basin. Drop your feet in. Wait twenty minutes.
Twenty minutes feels like an eternity when you’re tired. Do something else. Scroll. Read. Listen to a podcast. But keep them submerged. The vinegar attacks the callous while the glycerin ensures the water penetrates past the surface.
When you pull them out, pat them dry with a clean towel. Do not rub. The skin is vulnerable now. It’s pliable. It’s ready.
The gentle exfoliation
Now you move to the mechanical part. This is where most people go wrong. They grab a pumice stone and scrub like they’re trying to remove paint from a floor.
Stop.
You do not need to be aggressive. You need to be consistent.
If you use a pumice stone, keep it wet. Dry stones cause friction burns. Gently glide it over the heels and balls of your feet. Circular motions work best for awkward angles. Linear strokes work on the flat soles.
But there is a better way. A gentler way.
Use a gentle physical or chemical exfoliant. A sugar scrub. A lactic acid foot peel. Something that dissolves the dead skin rather than scraping it off.
Why choose this route? Because scraping can lead to micro-tears. Infections thrive in micro-tears. Chemical or gentle physical exfoliation lifts the dead cells away without compromising the skin barrier.
If you must use a stone, limit it to once a week. If you use a scrub, twice is fine. Over-exfoliation thins the skin. Thinner skin cracks faster. Cracked heels are painful and hard to hide.
Rinse. Dry again.
The skin should feel slightly slippery. That means it’s hydrated. That means you are on the right track.

Scraping away dead skin with a pumice stone or a foot rasp might feel like the fastest fix, but it often backfires on dry, rough heels. Yes, the high abrasion gets results instantly. Your skin feels soft immediately. But that aggressive friction triggers a defense mechanism. Your skin produces even more callus in response.
So your heels won’t stay soft for long.
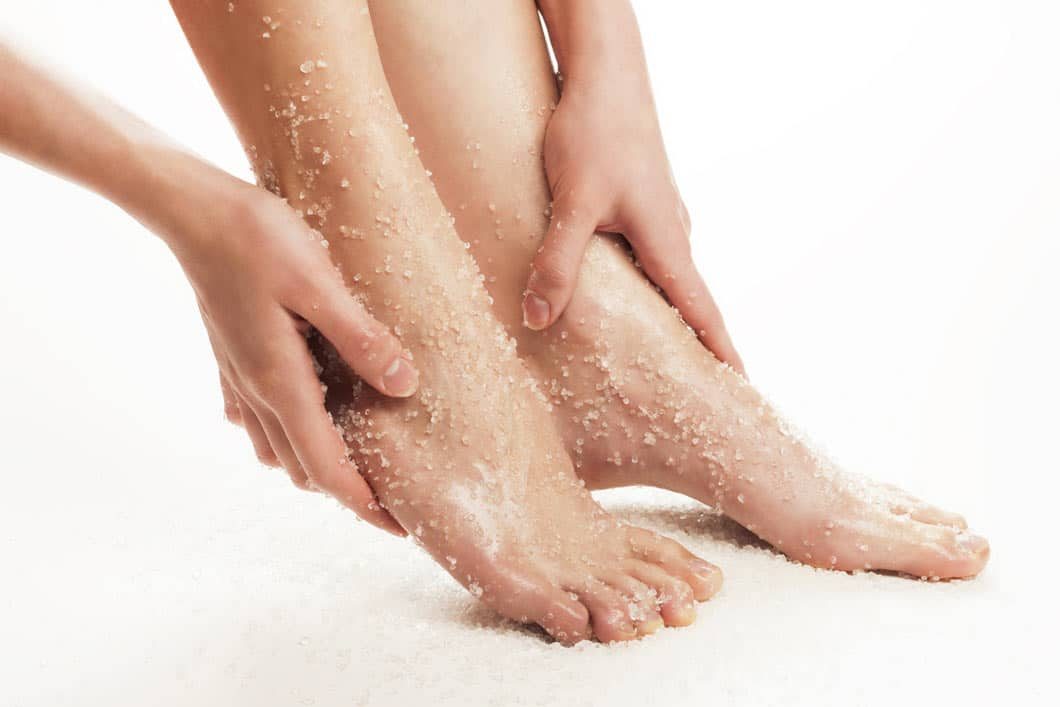
Instead of sanding your skin down, try a gentle, natural exfoliant. Mix your own paste using 25g of oat flour, 40g of corn flour, and a tablespoon of coarse sea salt with a little water. Rub this mixture onto your feet, focusing heavily on the heels. Rinse with warm water, dry thoroughly, and notice how much longer the softness lasts.
No oats or corn? No problem. Mix coarse salt with olive oil. This combo exfoliates while deeply hydrating. It restores softness without the harsh scrubbing.
Feeding the Skin with Vegetable Oils
Hydration is the non-negotiable next step. You can’t just exfoliate and walk away. To prevent calluses from coming back, you need to nourish the skin.
Use a vegetable oil of your choice. Good options include sweet almond, jojoba, hazelnut, borage, sesame, or argan oil. Massage it into your feet daily. Press into the heels. This routine keeps the skin pliable and stops the thickening cycle before it starts.
A Lemon and Aspirin Treatment for Stubborn Calluses
Want to remove thick skin fast? Look at the keratolytic action of lemon juice and aspirin. Together, they soften the thickened epidermal layer. This makes it easier to remove later with a pumice stone or gentle scrub.
Crush two or three aspirin tablets into a tablespoon of lemon juice. Mix until you have a thick paste. Apply a heavy layer to your heels. Wrap them in plastic wrap. Place a warm towel over the area. Leave it on for about twenty minutes.
After twenty minutes, use a pumice stone or gentle exfoliant to remove the softened skin. Rinse and dry your feet carefully.
Note that this aspirin treatment isn’t for everyone. If you have blood clotting issues or are on anticoagulant medication, skip it.
The Power of Wintergreen
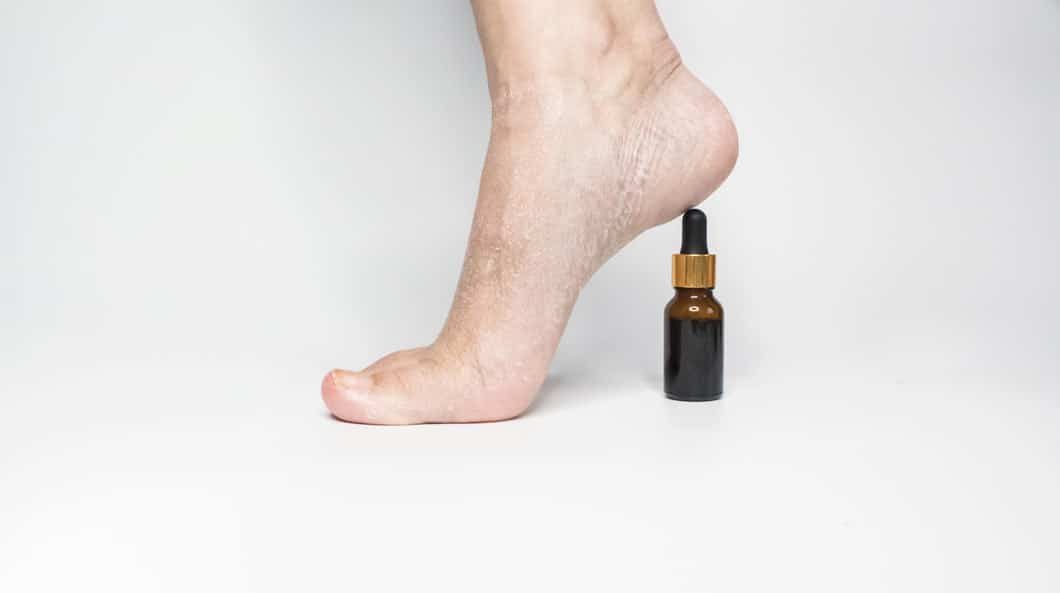

Gaulthérie couchée: The Salicylate Powerhouse for Thick Heel Skin
If you know your chemistry, you know aspirin is a salicylate. So is wintergreen essential oil, or Gaultheria procumbens. Both contain salicylic acid derivatives. That means they work on the same principle: breaking down excess keratin. That keratin is exactly what creates the hard, protective “horn” on your feet.
Here is how to use it.
Apply 2 drops of pure essential oil directly to the corn. Or, play it safer. Dilute those drops into a carrier oil—like jojoba or sweet almond. Massage that mixture into your heels. The friction helps absorption. The dilution reduces irritation risk.
But wait. Read the warnings before you buy.
This is not a toy. Do not use this on children under 12. Pregnant women should avoid it. If you are nursing? Skip it. Allergic to aspirin? Then this oil will trigger you too. And if your skin is already broken, cracked, or bleeding? Do not apply. You will regret it.
Always patch test. Put a drop in the crook of your elbow. Wait 24 hours. See if you swell up or turn red. If not, then you can proceed to your feet.
Chelidonium Majus: The Natural Burn for Stubborn Calluses
Now we move to something older. More primitive. Chelidonium majus, commonly known as greater celandine.
The yellow sap inside this perennial herb has been used for centuries. Why? Because it burns. It cauterizes warts. It softens and reduces calluses. If your heel skin is particularly thick, the fresh sap can melt that layer away.
It grows by roadsides. You might find it in your own backyard.
Recognize it by the grey-green leaves. They are jagged, looking a bit like oak leaves. The flowers are bright yellow. They have four petals arranged in a cross. They bloom from May through September.
It has many names. Woundwort. Glory-of-the-garden. Herb of the swallow. Herbe de Sainte Claire.
The catch? Be precise.
Apply the sap only to the corn. Not the surrounding skin. The rest of your foot is thinner. More sensitive. The sap will irritate healthy tissue. It will sting. It will cause redness. Precision is key here. A small brush or a cotton swab helps keep the sap off your good skin.
The Bigger Picture
These two plants offer powerful, targeted solutions. But they are not magic wands. They require caution. They require respect for the potency of natural compounds.
Wintergreen oil works chemically. It dissolves the keratin bond.
Chelidonium sap works physically. It burns away the dead cells.
Which one you choose depends on your skin type. Your tolerance. Your history with salicylates.
There are nine other tricks in the book. Eight more ways to keep feet looking good. But these two? They hit hard. They are effective. They are ancient.
Just remember the patch test. Always. And if your feet are bleeding, go to a professional. Not a plant.


